How to Turn on Screen Recording on iPhone
Did you know that you can record what you’re doing on your iPhone’s screen? There’s actually a built-in iOS screen recording feature that allows you to capture recordings of your iPhone, iPad, or iPod touch in use, and then share those video files. This feature is perfect for when you want to walk someone through an app tutorial, for example.
In this blog, we’ll teach you step-by-step how to start and stop screen recording on your iPhone and how to open and edit your video We’ll also provide helpful tips for improving your recording.
How to Allow Screen Recording on Your iPhone
You may be wondering when you would use screen recording. In addition to walking someone through an app tutorial, this feature also comes in handy when you’re watching a presentation or webinar that you may want to view again, demonstrating a bug, or creating a video game tutorial.
Allowing screen recording on your iphone is easier than you might think, and we’re going to take you through the process step by step.
Step by step: How to start screen recording on iPhone
Before you can start recording, you need to first turn on the screen recording feature.
- To enable screen recording:
- Open the Settings app.
- Choose Control Center.
- Select “Screen Recording” to add it to the “Included Controls” section. *Note: “Screen Recording” will be available in the Control Center if it's in the “Included Controls” section in the Settings.
- To initiate the screen recording (after you’ve turned the feature on):
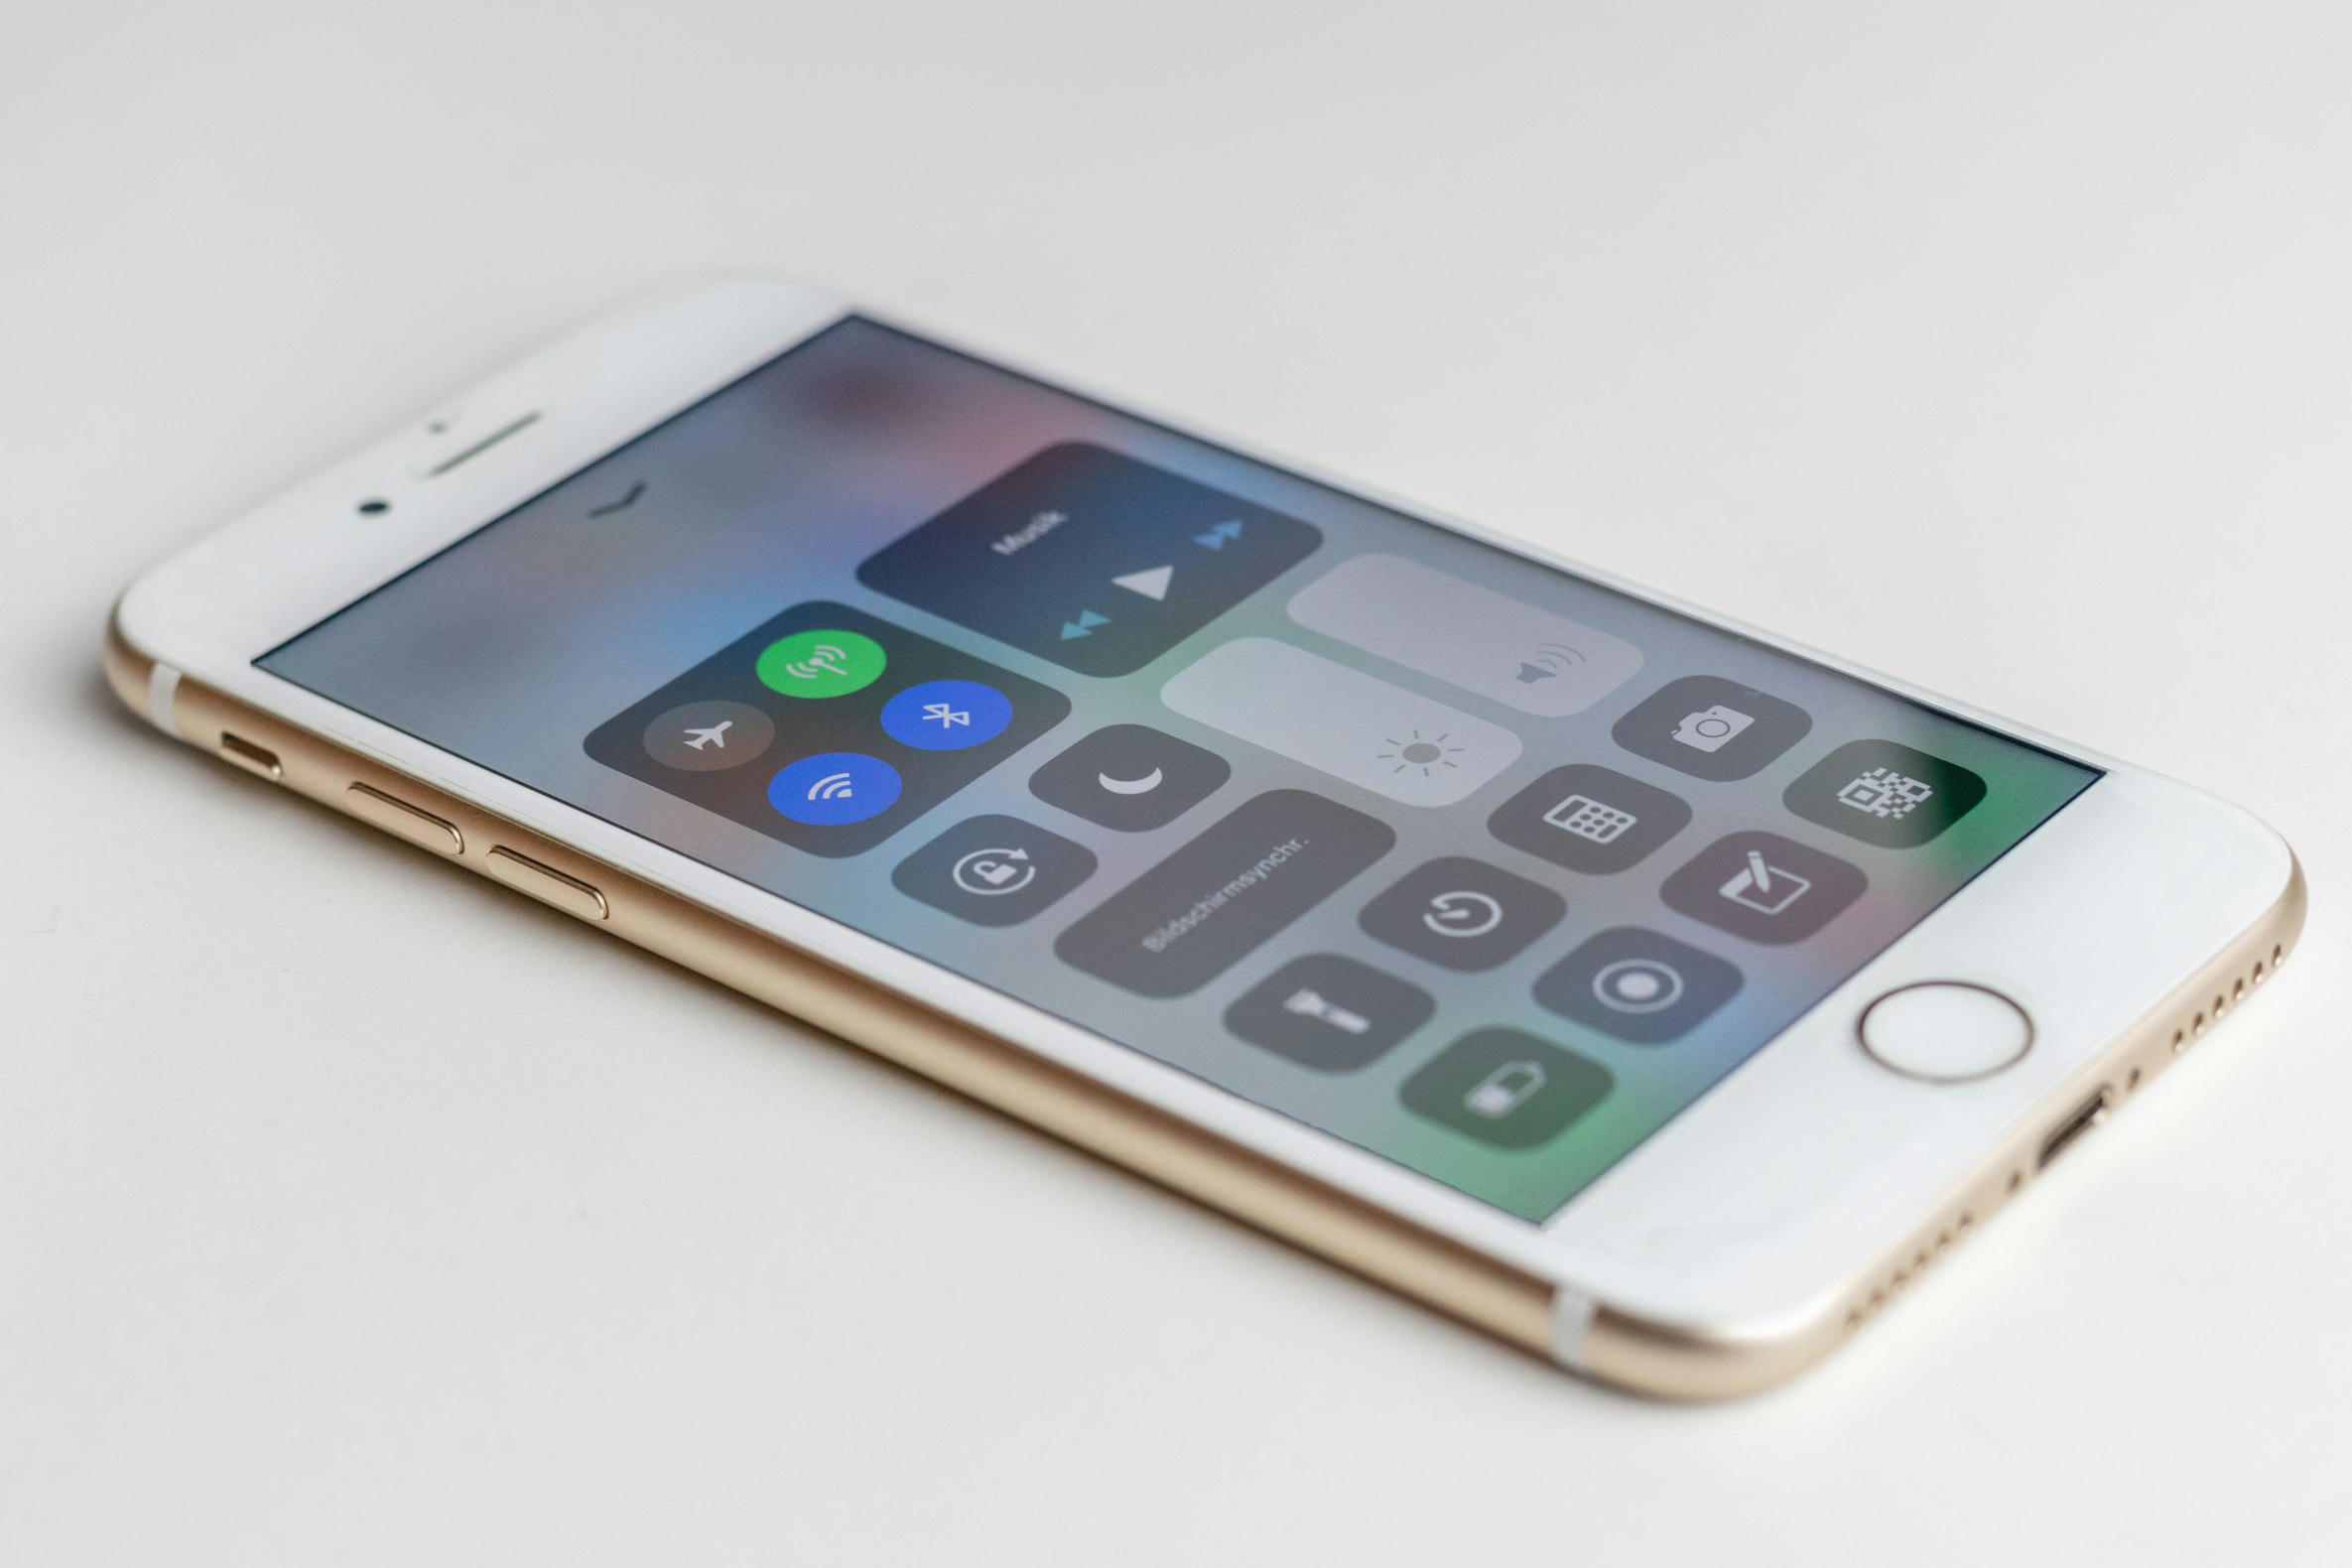
- Open Control Center by swiping down from the top-right corner of the screen, or if you have a home button, you can swipe up from the bottom of the screen.
- Tap the gray Record button, then wait for a three-second countdown.
- After the countdown, the Record button will turn red and everything you do will be recorded, even if you close the Control Center. *Note: You’ll know if you’re still recording because there will be a red bar at the top of your iPhone’s screen.
- To stop your screen recording:
- Tap the red bar at the top left of the screen and tap Stop in the pop-up.
- Pro tip: You can also stop recording by opening the Control Center and tapping the Record button again. *Note: Your recording will include just the audio coming out of your iPhone or iPad. To narrate and record audio, press and hold the Record button, then tap the microphone icon to turn on narration (icon will turn red).
How to Open and Edit Your Screen Recording
Once you’ve successfully screen recorded, where do you watch and edit your new video?
Simple! You’ll find the video on your iPhone’s Camera Roll located in the Photos app. Then, you can use the iPhone's editing tools to add filters, trim the beginning or end, and save the video as a new clip.
Here’s how to open and edit your screen recording:
- Open the Camera Roll album in the Photos app and tap the video.
- Tap Edit in the top right-hand corner of the screen.
- You’ll find a visual timeline of the video at the bottom of the screen.
- To trim the beginning of the video, tap and drag the arrow beside the Play button to the right (it should turn yellow). Trim the end of the video by tapping and dragging the arrow on the left.
- Press the Play button to watch the new version of your video.
- You can change the filters with the same buttons you would use to edit a photo in the Photos app.
- Once you’ve edited the video to your liking, tap Done > Save as New Clip, and voila!
Tips for Improving Your Screen Recording on iPhone
Now that you’re a regular video pro, here are some additional tips to help you improve your screen recordings:
- Close any apps you're not using: When you screen record it’s an intensive process and can cause performance issues on your phone.
- Turn on ‘Do Not Disturb’ mode: This way you don’t have to worry about getting a call or text message while recording.
- To do this, open the Control Center and tap the Focus icon (half moon).
- Lock your iPhone’s orientation: You also don’t want your iPhone’s screen to change orientation while recording.
- To do this, open the Control Center and tap the lock icon.
- Add captions with iMovie: Captions make videos better, because it helps the viewer comprehend the content and is more accessible for those who are hard of hearing.
- You can add text to your videos on iPhone using the iMovie app.
- Use an external microphone: The iPhone’s internal mic is not low quality, but if you want to produce a more professional recording, with better audio, an external mic is the way to go.
We hope this blog has given you the tools you need to screen record and create videos with ease. Happy recording!
FAQs
- How do I enable screen recording on my iPhone or iPad?
You can turn on the screen recording feature by opening Settings > Control Center, selecting “Customize Controls”, then tapping the button next to “Screen Recording” to add it to the “Include” section. - How do I initiate screen recording?
Open the Control Center, tap the Record button, wait for a three-second countdown, then the Record button will turn red indicating you are recording. - How do I stop screen recording?
Tap the red bar at the top left of the screen and tap Stop in the pop up. - How do I open and edit my screen recording?
You’ll find the video on your iPhone’s Camera Roll in the Photos app. You can then use the iPhone's editing tools to add filters and trim your video.


